
This post contains affiliate links. As an Amazon Associate, I earn from qualifying purchases. This comes at no extra cost to you.
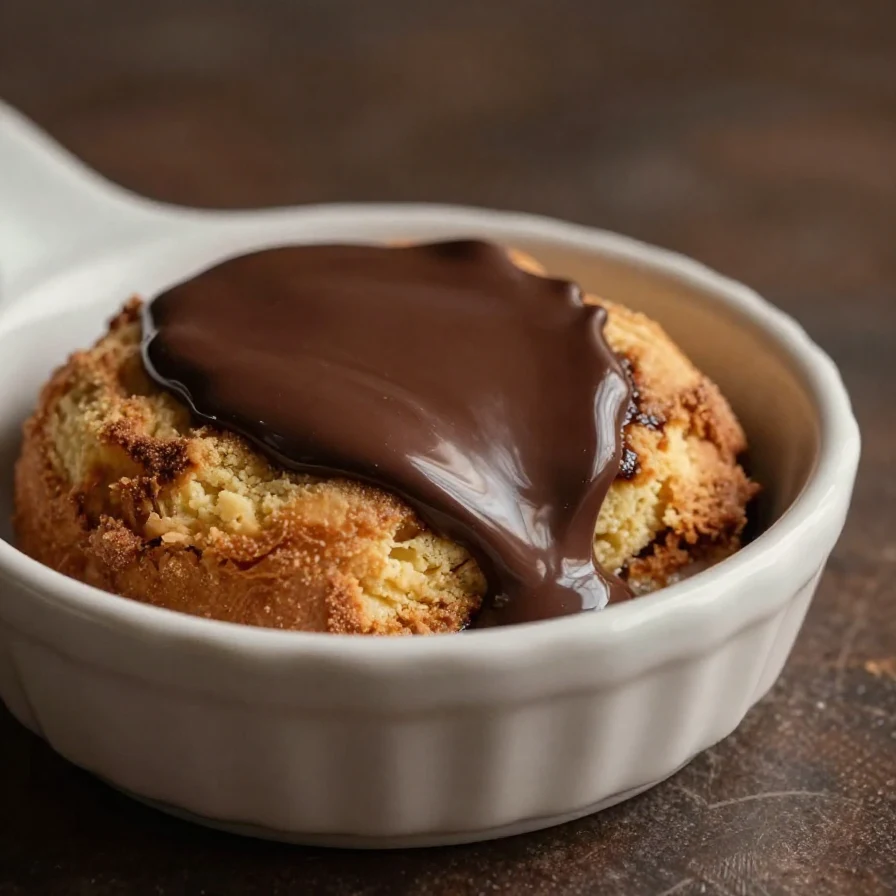
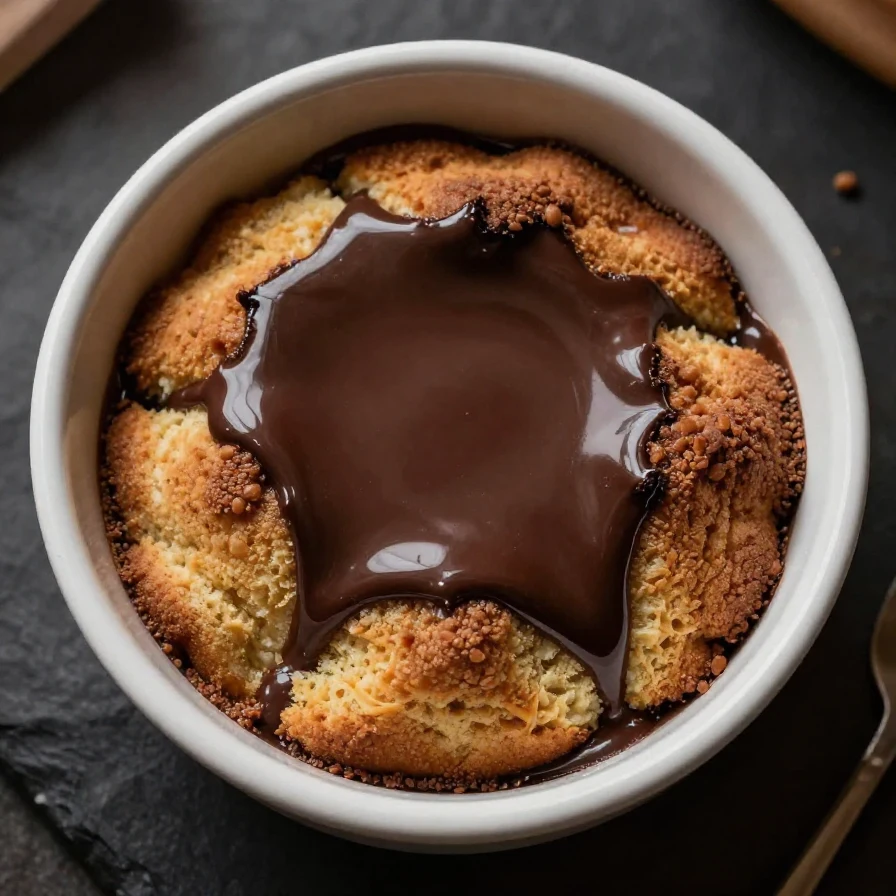
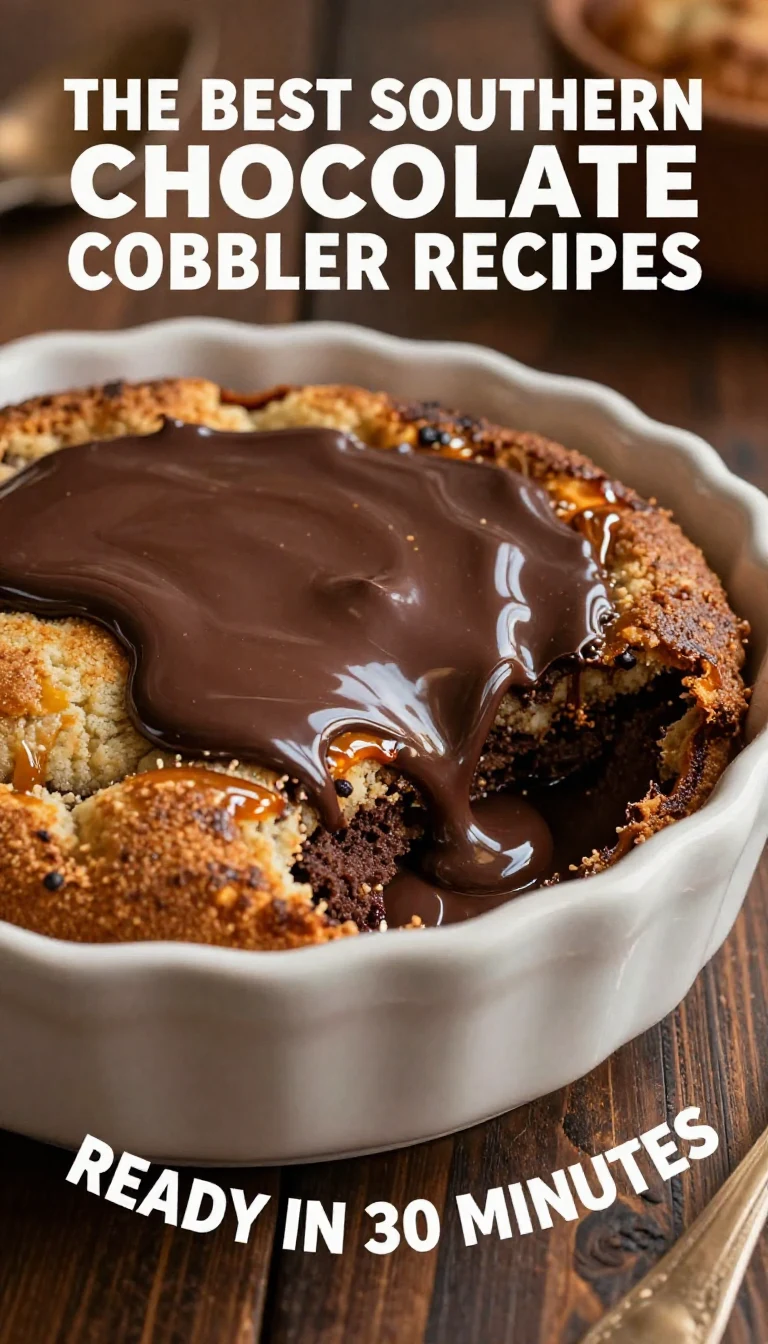
Southern Chocolate Cobbler is the ultimate dessert for chocolate lovers, combining a rich and gooey chocolate sauce with a tender cake-like topping. As it bakes, the cocoa and brown sugar form into a luscious molten layer that bubbles up under the soft crust. Serve it warm with a scoop of vanilla ice cream for the perfect indulgent treat.
Table of Contents
- Why Southern Chocolate Cobbler Is Perfect
- Everything You Need for Southern Chocolate Cobbler
- How To Make Southern Chocolate Cobbler Step by Step
- Easy Ingredient Swaps for Southern Chocolate Cobbler
- Expert Tips for the Best Southern Chocolate Cobbler
- The Origin of Southern Chocolate Cobbler
- Common Mistakes to Avoid
Why Southern Chocolate Cobbler Is Perfect
- This dish is perfect for anyone craving a warm dessert with minimal prep time. With just 10 minutes of hands-on work, you can deliver a dessert that feels like pure decadence.
- It’s ideal for impressing guests without complicated techniques or specialty tools. All the ingredients are pantry staples, making it as approachable as it is indulgent.
- Southern Chocolate Cobbler pairs beautifully with ice cream or whipped cream, creating a delightful contrast between cold and gooey textures. Whether you’re serving it at a dinner party or enjoying it on a quiet evening, it’s always a hit.
Everything You Need for Southern Chocolate Cobbler
- 1 cup all-purpose flour
- 1 cup granulated sugar
- 2 teaspoons baking powder
- 1/2 teaspoon salt
- 1 cup milk
- 1/2 cup unsalted butter, melted
- 1 teaspoon vanilla extract
- 1/2 cup cocoa powder
- 1 cup brown sugar, packed
- 2 cups hot water
The cocoa powder is what gives Southern Chocolate Cobbler its deep, chocolatey flavor, while the brown sugar creates the molten sauce underneath the soft topping. Using hot water ensures the cocoa mixture melts evenly during baking, forming the perfect texture.
How To Make Southern Chocolate Cobbler Step by Step
- Preheat your oven to 350°F (175°C) and grease a 9×13 inch baking dish thoroughly.
- In a large mixing bowl, combine the flour, granulated sugar, baking powder, and salt. Stir well to ensure the dry ingredients are evenly distributed.
- Add the milk, melted butter, and vanilla extract to the dry mixture, then stir until the batter is smooth and fully combined.
- Pour the batter into the prepared baking dish, spreading it evenly to cover the bottom.
 Kitchen ApplianceKitchenAid Artisan Stand Mixer
Makes mixing dough and batters effortless — a kitchen game-changer
Essential CookwareLodge Cast Iron Skillet 12-inchPerfect for searing and baking — this recipe needs even heat distribution
- In a separate bowl, mix the cocoa powder and brown sugar together until uniform in color.
- Sprinkle the cocoa mixture evenly over the batter in the baking dish, ensuring full coverage.
- Carefully pour the hot water over the cocoa and batter mixture. Do not stir—the water will combine naturally during baking.
- Bake in the preheated oven for 30 to 35 minutes, or until the top is set and a toothpick inserted comes out mostly clean. Let it cool for a few minutes before serving.

Easy Ingredient Swaps
If you’re out of all-purpose flour, swap it for a 1:1 gluten-free baking mix to make this dish suitable for gluten-sensitive friends. For a dairy-free option, use plant-based butter and almond milk; this will slightly lighten the flavor but still keep the texture rich.
Don’t have vanilla extract? Try almond extract for a nutty twist that complements the cocoa beautifully.
Expert Tips for the Best Dish
- Grease your baking dish thoroughly to ensure easy removal of servings, especially the gooey chocolate layer at the bottom.
- Make sure the hot water is freshly boiled before pouring it over the cocoa mixture. This activates the melting process more effectively.
- For an extra chocolate boost, add a handful of mini chocolate chips to the batter before baking. They’ll melt into the sauce for even more richness.
- Serve it warm, but not piping hot—letting it cool for just 5 minutes helps the flavors settle and makes scooping easier.
The Origin of Chocolate Cobbler
Chocolate Cobbler is a classic dessert that traces back to the American South, where cobblers traditionally featured seasonal fruits. This chocolate variation swaps the fruit for a rich cocoa base, elevating the cobbler concept into something indulgent and universally beloved.
The dish embodies the Southern tradition of using simple, accessible ingredients to create desserts that feel luxurious. Its popularity endures because it combines nostalgic comfort with timeless flavors.
Common Mistakes to Avoid
- Avoid overmixing the batter; it can lead to a dense and chewy texture instead of the fluffy topping you’re aiming for.
- Don’t stir the hot water into the baking dish—it needs to stay on top for the cobbler to bake properly. Stirring disrupts the formation of the sauce layer.
- Be cautious not to underbake; if the top isn’t set, the cobbler will be too liquidy. Check with a toothpick to confirm it’s mostly clean before removing from the oven.
Southern Chocolate Cobbler
Ingredients
- 1 cup all-purpose flour
- 1 cup granulated sugar
- 2 teaspoon baking powder
- 1/2 teaspoon salt
- 1 cup milk
- 1/2 cup unsalted butter, melted
- 1 teaspoon vanilla extract
- 1/2 cup cocoa powder
- 1 cup brown sugar, packed
- 2 cup hot water
Instructions
- Preheat your oven to 350°F (175°C).
- In a large mixing bowl, combine the flour, granulated sugar, baking powder, and salt. Mix well.
- Stir in the milk, melted butter, and vanilla extract until fully combined.
- Pour the batter into a greased 9×13 inch baking dish, spreading it evenly.
- In a separate bowl, mix the cocoa powder and brown sugar together.
- Sprinkle the cocoa mixture evenly over the batter in the baking dish.
- Carefully pour the hot water over the top of the cocoa and batter mixture. Do not stir.
- Bake in the preheated oven for 30 to 35 minutes, or until the top is set and a toothpick inserted comes out mostly clean.
- Let it cool for a few minutes before serving.
Notes
Loved this recipe? Save it to your favorite Pinterest board so you can easily find it later! ✨