
This post contains affiliate links. As an Amazon Associate, I earn from qualifying purchases. This comes at no extra cost to you.
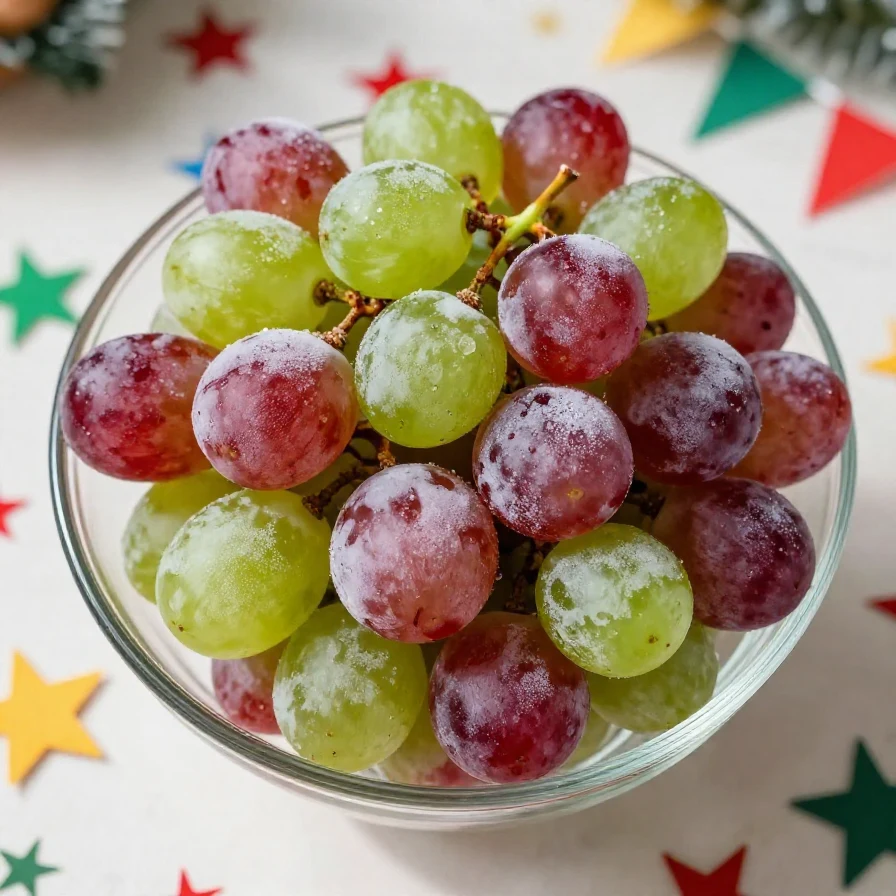
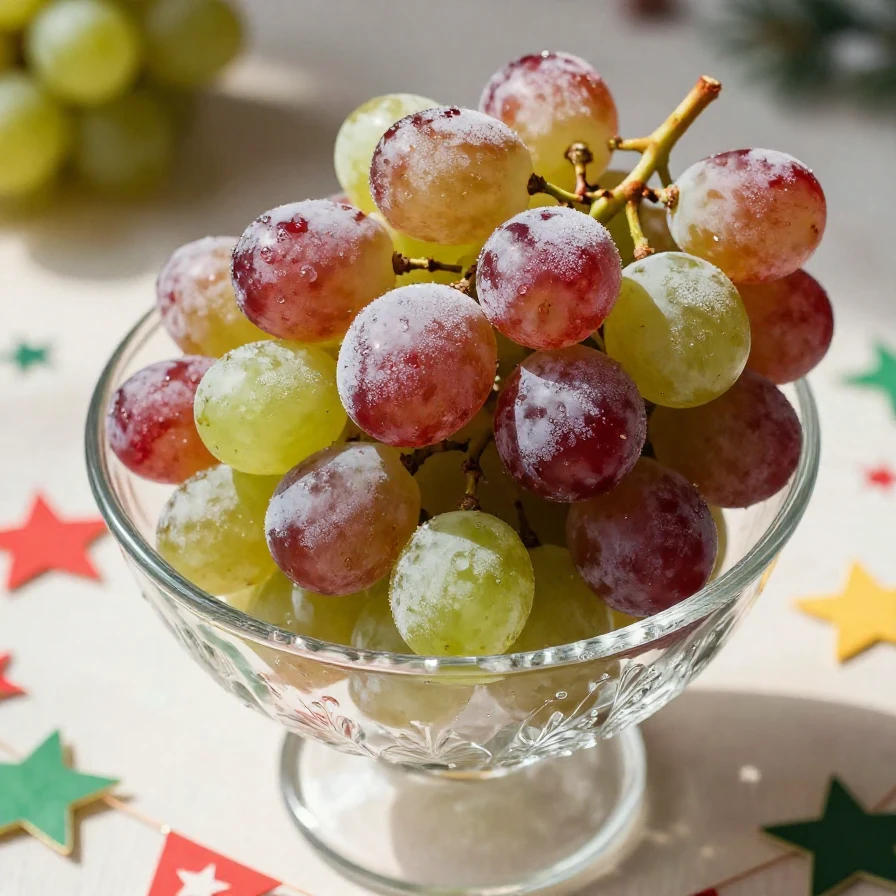
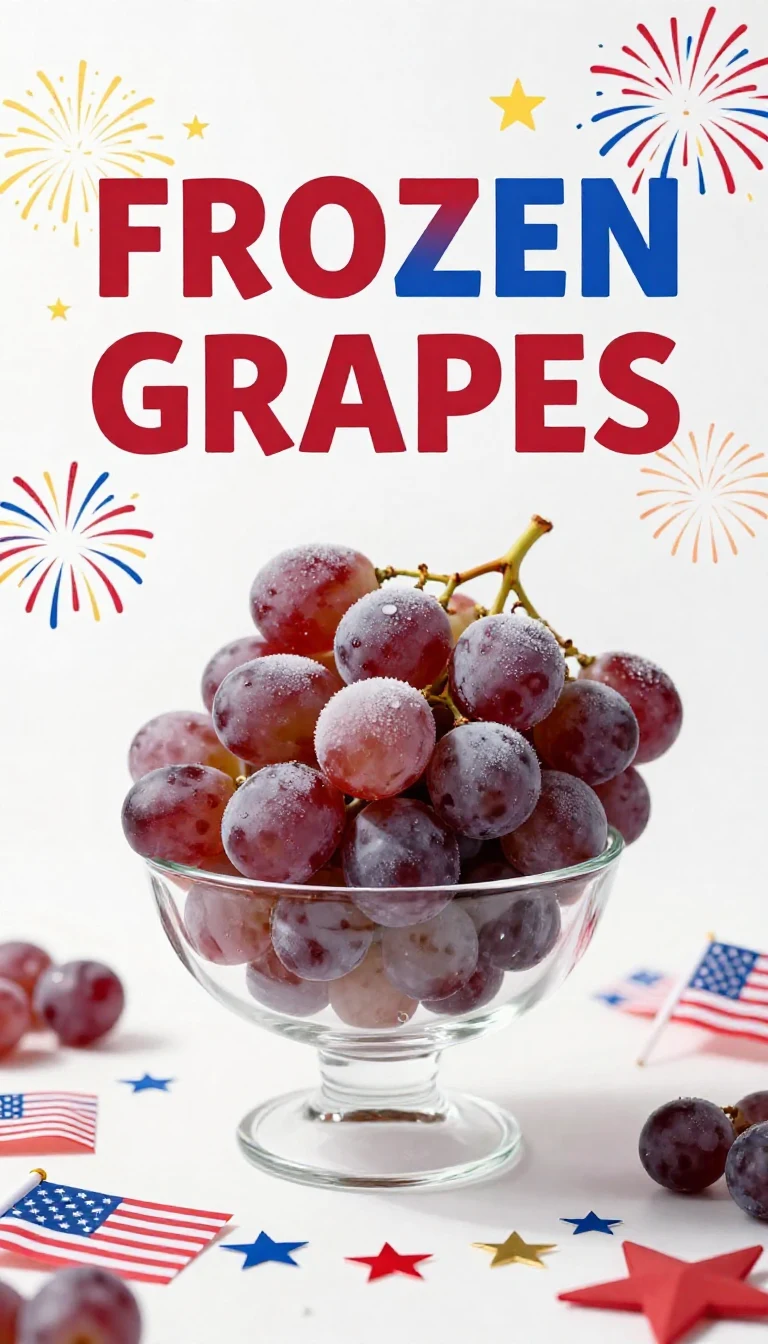
These 4th of July Frozen Grapes | Cool, Sweet & Refreshing Summer Snack are the perfect way to cool down on a hot holiday. Their icy texture combined with the natural sweetness of red and green grapes creates a bite-sized treat that’s as refreshing as it is festive. Toss in a touch of honey and lemon juice, and you’ve got a patriotic snack that’s simple, satisfying, and oh-so-summery.
Table of Contents
- Why This 4th of July Frozen Grapes Snack is Perfect
- Everything You Need for 4th of July Frozen Grapes
- How To Make 4th of July Frozen Grapes Step by Step
- A History of Frozen Snacks
- Frequently Asked Questions
- Common Mistakes to Avoid
- Meal Prep and Storage Tips
Why This 4th of July Frozen Grapes Snack is Perfect
- It’s a guilt-free treat that satisfies both kids and adults alike. The natural sweetness of the grapes makes it a healthy alternative to sugary desserts.
- The red and green grape combination brings a patriotic vibe to your festivities. They’re a simple way to add a festive touch to any 4th of July spread.
- No cooking or baking required, so you’ll spend less time in the kitchen. It’s as easy as freeze, serve, and enjoy!
- This snack is super portable and perfect for outdoor gatherings. Just pack them in a cooler for on-the-go summer fun.
Everything You Need for 4th of July Frozen Grapes
- 2 cups of seedless grapes (red and green for a patriotic look)
- 1 tablespoon of honey (optional for sweetness)
- 1 teaspoon of lemon juice (optional for flavor enhancement)
- 1 pinch of salt (optional to enhance sweetness)
The crisp, juicy texture of the grapes is the star of this dish, but the optional honey gives them a light glaze of added sweetness. A tiny pinch of salt may seem surprising, but it enhances the natural flavors beautifully.
How To Make 4th of July Frozen Grapes Step by Step
- Wash the grapes thoroughly under cold running water and remove any stems. Pat them dry with a clean towel to avoid ice crystals forming during freezing.
- If desired, place the grapes in a mixing bowl and drizzle with honey. Add the lemon juice and a pinch of salt, then toss gently to coat evenly.
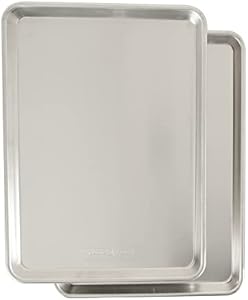
- Spread the grapes in a single layer on a baking sheet lined with parchment paper. Make sure the grapes aren’t touching each other for even freezing.
- Place the baking sheet in the freezer for at least 2-3 hours or until the grapes are completely frozen.
 Kitchen ApplianceHamilton Beach 6-Speed Electric Hand Mixer
Ideal for mixing honey and lemon juice with grapes effortlessly.
Essential CookwareNordic Ware Natural Aluminum Commercial Baker’s Half SheetDurable and perfect for freezing grapes evenly without sticking.
- Once frozen, transfer the grapes to an airtight container to save space and prevent freezer burn. Store them in the freezer until ready to serve.
- Enjoy the frozen grapes directly from the freezer for a refreshing snack that’s perfect for summer celebrations.

A History of Frozen Snacks
Freezing fruits for snacks has long been a simple way to preserve nature’s sweetness and flavor. Grapes, in particular, freeze beautifully due to their high water content, making them a natural choice for quick cooling treats.
While this method isn’t new, pairing frozen grapes with optional flavor enhancements like honey or lemon juice has turned a humble idea into something uniquely festive and modern. They’re now a go-to for families looking to balance fun and nutrition during summer holidays.
You might also enjoy our cheerful 4th of july mini.
Frequently Asked Questions
- Can I use only one type of grape?
- Absolutely! Red or green grapes alone will work just fine, though using both adds a fun color contrast for 4th of July festivities.
- How long do frozen grapes last in the freezer?
- When stored in an airtight container, frozen grapes can last up to a month without losing quality.
- Do I need to add honey or lemon juice?
- No, these are completely optional. The grapes are naturally sweet, but honey and lemon add a touch of extra flavor if desired.
Common Mistakes to Avoid
- Skipping the drying step after washing the grapes. Excess water can create unwanted ice crystals, affecting the texture.
- Not spreading the grapes in a single layer for freezing. Overlapping grapes won’t freeze evenly and may clump together.
- Leaving the grapes uncovered in the freezer. Always store them in an airtight container to avoid freezer burn.
Meal Prep and Storage Tips
Once your 4th of July frozen grapes are prepared, transfer them to an airtight container to maintain their quality. They’ll keep well in the freezer for up to a month, making them a great option for prepping ahead of time.
For more ideas, check out our delightful 4th of july mini.
If you’re taking them outdoors for a gathering, consider packing them in a chilled container or cooler to keep them frozen longer. Serve them directly from the freezer to enjoy their icy texture and refreshing taste at its best.
Looking for something similar? Try our hawaiian roll french toast bites.
4th of July Frozen Grapes | Cool, Sweet & Refreshing Summer Snack
Ingredients
- 2 cup seedless grapes red and green for a patriotic look
- 1 tbsp honey optional for sweetness
- 1 tsp lemon juice optional for flavor enhancement
- 1 salt optional to enhance sweetness
Instructions
- Wash the grapes thoroughly under cold running water and remove any stems.
- If desired, in a mixing bowl, combine the grapes with honey, lemon juice, and salt, tossing gently to coat.
- Spread the grapes in a single layer on a baking sheet lined with parchment paper.
- Place the baking sheet in the freezer for at least 2-3 hours or until the grapes are completely frozen.
- Once frozen, transfer the grapes to an airtight container for storage in the freezer.
- Serve the frozen grapes directly from the freezer for a cool, sweet, and refreshing summer snack.
Notes
Loved this recipe? Save it to your favorite Pinterest board so you can easily find it later! ✨