
This post contains affiliate links. As an Amazon Associate, I earn from qualifying purchases. This comes at no extra cost to you.
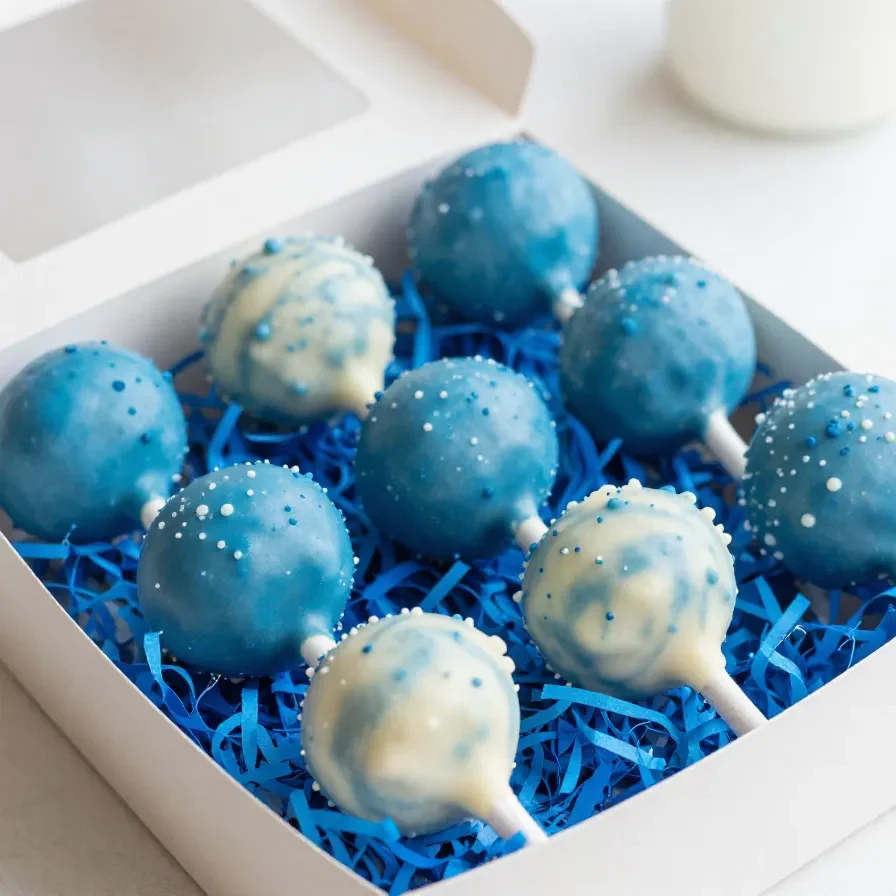
Father’s day baking ideas is a festive dessert made with moist cake crumbs, cream cheese frosting, and a rich chocolate coating. This easy recipe yields 20 cake pops and takes only about 55 minutes from start to finish, including prep and cook time. Perfect for celebrating dad, each bite delivers a satisfying combination of tender cake and sweet chocolate that can be decorated to showcase personal creativity.
As a food blogger, I love creating recipes that feel special yet easy to make, and these Father’s Day Cake Pops are the perfect blend of fun and simplicity. These treats let you play with designs while making Dad’s day extra delicious.
Table of Contents
- Why Are Father’s Day Cake Pops So Special?
- What Ingredients Do You Need for Father’s Day Cake Pops?
- How Do You Make Father’s Day Cake Pops Step by Step?
- Frequently Asked Questions About Father’s Day Cake Pops
- How Do You Store and Reheat Father’s Day Cake Pops?
- Expert Tips for Making Perfect Cake Pops
- What Mistakes Should You Avoid When Making Cake Pops?
Why Are Father’s Day Cake Pops So Special?
Father’s Day Cake Pops stand out because they combine creativity with a delicious treat that’s perfect for celebrating dad. These bite-sized desserts are easy to personalize and share, making them ideal for special occasions.
- **A Personal Touch**: Decorate them with dad’s favorite colors or interests, such as blue cake pop decorating ideas for a police-themed twist.
- **Easy to Share**: Their portable size makes them a great option for gifting or serving at gatherings.
- **Kid-Friendly Fun**: Making and decorating these pops can be a family activity.
- **Flexible Design**: Use sprinkles, candy melts, or edible pens to create unique designs that suit dad’s personality.
What Ingredients Do You Need for Father’s Day Cake Pops?
Father’s Day Cake Pops require simple ingredients you might already have in your kitchen, making them convenient and cost-effective to prepare.
- 1 box vanilla or chocolate cake mix (plus ingredients needed to prepare)
- 1/2 cup cream cheese frosting
- 2 cups semi-sweet chocolate chips or candy melts
- Assorted sprinkles or decorations
- Lollipop sticks
- 1-2 tablespoons vegetable oil (optional, for thinning chocolate)
- Foam block or cake pop stand
The cream cheese frosting is key for binding the cake crumbs together, while the chocolate coating adds a satisfying crunch and sweetness to the pops.
How Do You Make Father’s Day Cake Pops Step by Step?
Making Father’s Day Cake Pops involves baking, shaping, and decorating, with straightforward steps that make the process enjoyable for all skill levels. Here’s your easy step-by-step guide:
Step 1 — Bake the Cake
Bake the cake according to the package instructions. Once done, let it cool completely to ensure the cake is ready to crumble.
Step 2 — Crumble the Cake
Break the cooled cake into fine crumbs using your hands or a mixer. Aim for an even texture, as this ensures smooth cake pops.
Step 3 — Mix with Frosting
Add 1/2 cup cream cheese frosting to the crumbs. Mix thoroughly until the mixture is moist and holds together when pressed.
Step 4 — Shape into Balls
Roll the mixture into small balls, each about 1 inch in diameter, and place them on a parchment-lined tray.


Step 5 — Add Lollipop Sticks
Insert a lollipop stick halfway into each ball. Dipping the stick tip in melted chocolate can help secure it better.
Step 6 — Freeze the Cake Pops
Transfer the tray to the freezer for 20-30 minutes. This step firms up the pops and makes them easier to coat.
Step 7 — Melt the Chocolate
Melt the chocolate chips or candy melts in 20-second intervals in the microwave. Add 1-2 tablespoons of vegetable oil if needed to thin the mixture.
Step 8 — Dip and Decorate
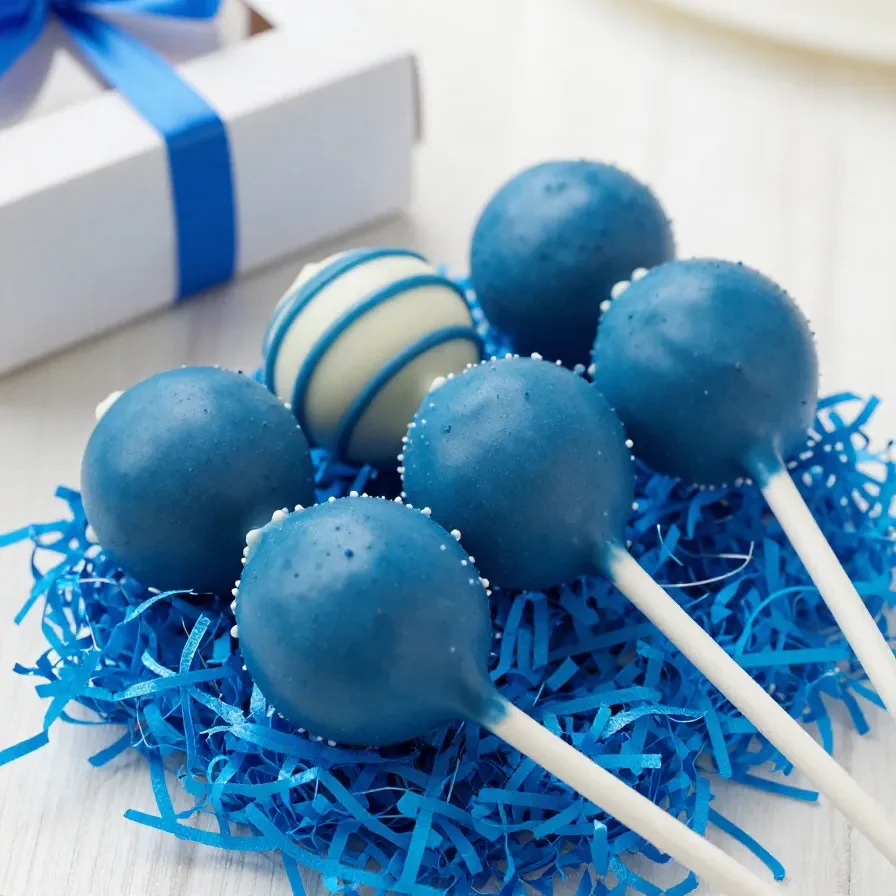
Dip each cake pop into the melted chocolate, ensuring complete coverage. While the chocolate is still wet, add sprinkles or decorations to finish.
Step 9 — Let Them Set
Stick the pops upright into a foam block or cake pop stand. Allow the chocolate to harden completely before serving.
Frequently Asked Questions About Father’s Day Cake Pops
Can I make Father’s Day Cake Pops ahead of time?
Yes, you can make them up to 3 days in advance and store them in an airtight container in the fridge.
How long should the cake pops freeze before dipping?
Freeze the cake pops for 20-30 minutes to ensure they are firm enough for dipping in melted chocolate.
What decorations work best for Father’s Day themes?
Use sprinkles, edible pens, or colored candy melts to create personalized designs such as blue-themed pops for dad.
Can I use other frosting types?
Yes, buttercream or even ganache can work as alternatives to cream cheese frosting, depending on taste preferences.
How do I thin the chocolate for smoother dipping?
Add 1-2 tablespoons of vegetable oil per 2 cups of melted chocolate to achieve a smoother consistency.
How Do You Store and Reheat Father’s Day Cake Pops?
Store cake pops in the refrigerator for up to 3 days in an airtight container to maintain freshness.
For longer storage, freeze the pops in a sealed container for up to 1 month. Thaw them in the fridge before serving.
If reheating is needed, let frozen cake pops sit at room temperature for 10-15 minutes; avoid microwaving to preserve the texture.
Expert Tips for Making Perfect Cake Pops
- **Use High-Quality Chocolate**: Premium chocolate ensures a smooth texture and rich flavor.
- **Chill Thoroughly**: Freezing the cake pops prevents them from falling apart during dipping.
- **Work Quickly**: Melted chocolate can harden quickly, so have decorations ready beforehand.
- **Avoid Over-Mixing**: Mix cake and frosting just until combined to prevent dense pops.
What Mistakes Should You Avoid When Making Cake Pops?
- **Skipping the Freezing Step**: Not chilling the pops can lead to breaks when coating in chocolate.
- **Using Thick Chocolate**: If too thick, the coating can clump. Thin it with a bit of vegetable oil for better results.
- **Overloading Decorations**: Excess sprinkles can weigh down the pops, causing uneven coating.

Loved this recipe? Save it to your favorite Pinterest board so you can easily find it later! ✨