
This post contains affiliate links. As an Amazon Associate, I earn from qualifying purchases. This comes at no extra cost to you.
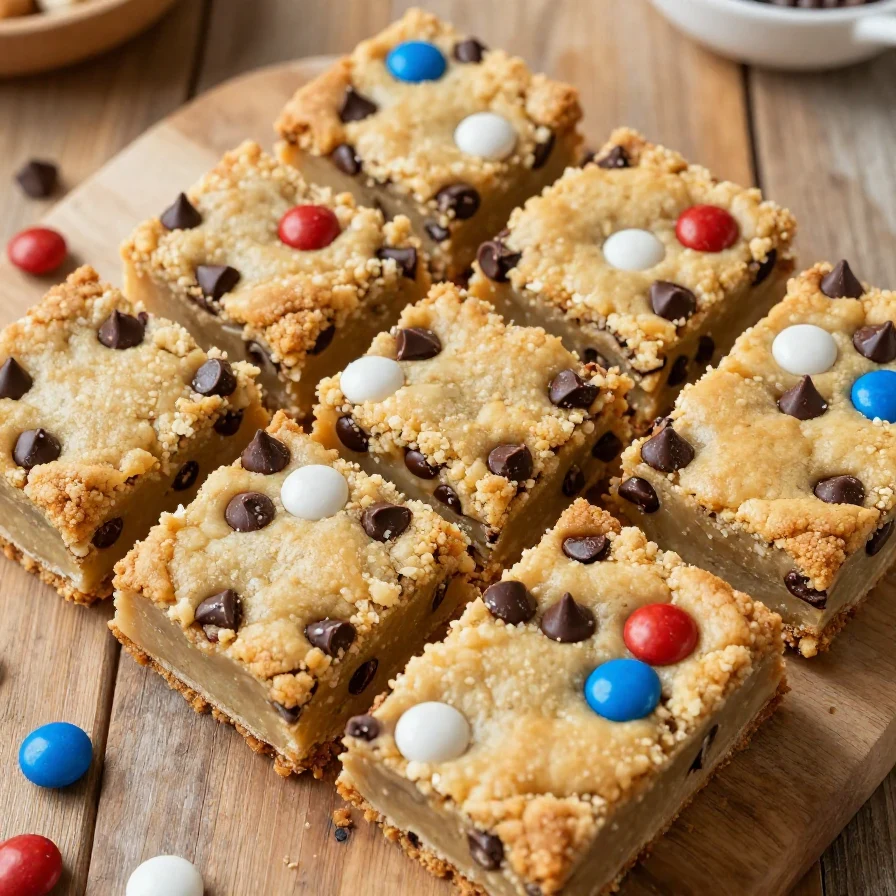
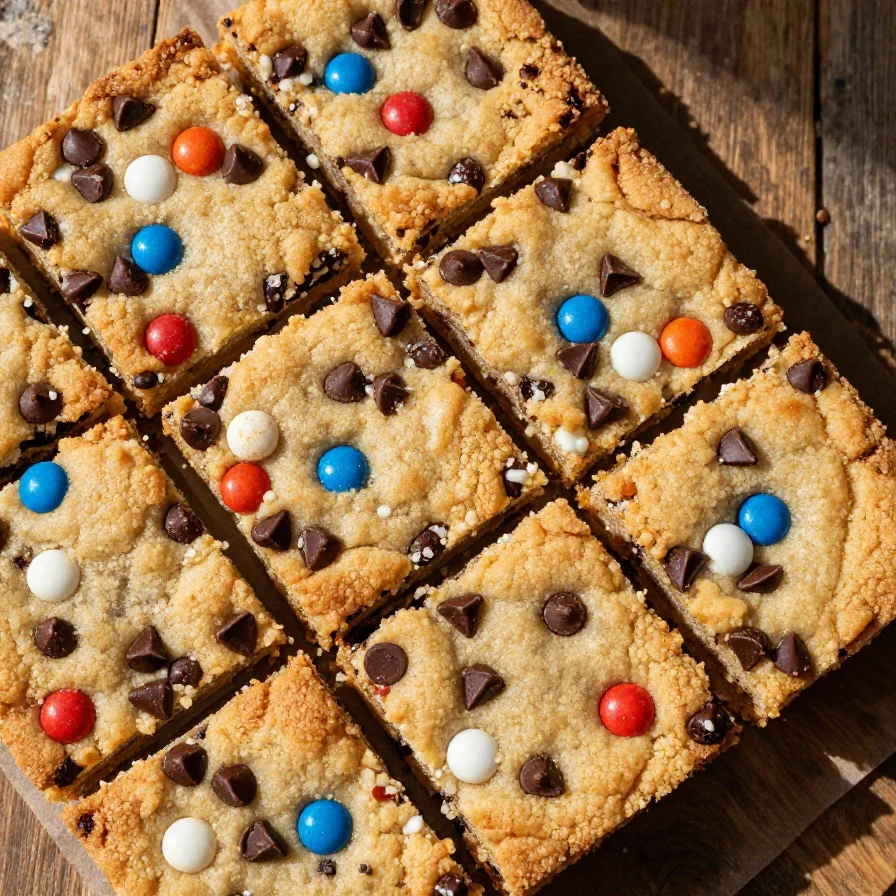
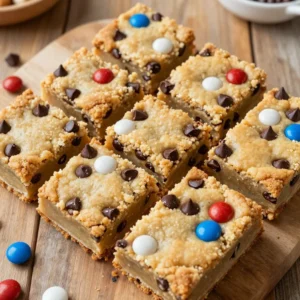
These No Flour Red White Blue Cookie Bars are a festive treat bursting with nutty almond butter flavor and sweet, colorful chocolate candies. Their chewy texture paired with hints of vanilla make them a standout dessert for any celebration. Plus, they’re completely flourless, making them a delicious gluten-free option for holidays like the 4th of July.
Table of Contents
- Why These Cookie Bars Are Perfect for Celebrations
- Everything You Need for No Flour Red White Blue Cookie Bars
- How To Make No Flour Red White Blue Cookie Bars Step by Step
- Common Questions About These Cookie Bars
- Serving and Pairing Tips for These Cookie Bars
- Storage and Reheating Tips
Why These Cookie Bars Are Perfect for Celebrations
- Perfect for gluten-free dessert lovers: Since these bars are made without flour, they’re a great option for anyone avoiding gluten without sacrificing flavor.
- Quick and easy to make: With just 10 minutes of prep, these bars come together faster than most desserts, making them ideal for busy holiday baking schedules.
- Vibrant and festive look: The red, white, and blue candies make these cookie bars a colorful centerpiece for 4th of July parties or other patriotic events.
- Chewy and rich texture: Thanks to the almond butter base, these bars are satisfyingly dense and packed with a nutty, sweet flavor everyone will enjoy.
Everything You Need for No Flour Red White Blue Cookie Bars
- 1 cup almond butter
- 1/2 cup honey or maple syrup
- 1 large egg
- 1 teaspoon vanilla extract
- 1/2 teaspoon baking soda
- 1/4 teaspoon salt
- 1/2 cup white chocolate chips
- 1/2 cup red and blue chocolate candies (like M&Ms or similar)
The almond butter provides a rich, nutty foundation and replaces the need for flour, while the honey or maple syrup serves as a natural sweetener that adds depth to the flavor. The combination of white chocolate chips and colorful candies gives these bars their festive personality.
How To Make No Flour Red White Blue Cookie Bars Step by Step
- Preheat your oven to 350°F (175°C) and line an 8×8 inch baking pan with parchment paper.
- In a mixing bowl, combine the almond butter, honey (or maple syrup), egg, and vanilla extract. Mix until smooth for an even texture.
- Add the baking soda and salt to the mixture, stirring until fully incorporated to ensure the bars bake evenly.
- Fold in the white chocolate chips and half of the red and blue chocolate candies, distributing them evenly throughout the batter.
- Pour the mixture into the prepared baking pan, spreading it out in an even layer with a spatula.
- Sprinkle the remaining red and blue chocolate candies across the top of the batter for a decorative touch.
- Bake in the preheated oven for 20-25 minutes, or until the edges are golden and a toothpick inserted in the center comes out clean.
- Allow the cookie bars to cool in the pan for about 10 minutes before transferring them to a wire rack to cool completely.
- Cut into squares and serve as a festive dessert or snack.
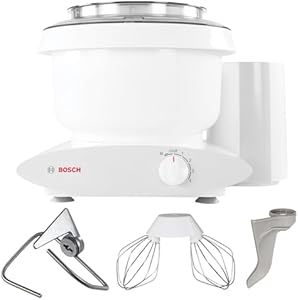
Makes mixing dough and batters effortless — a kitchen game-changer.
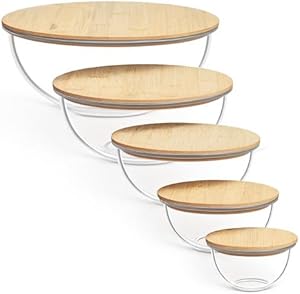
Essential for mixing ingredients smoothly and easily.
Common Questions About These Cookie Bars
Can I substitute the almond butter with another nut or seed butter? Yes, peanut butter or sunflower seed butter can be used as an alternative, though this may slightly alter the flavor.
Can these bars be made ahead of time? Absolutely! You can bake them the day before your event and store them in an airtight container for up to two days to maintain freshness.
You might also enjoy our cherry-topped vanilla cake slice on.
What if I don’t have an 8×8 inch pan? You can use a similarly sized pan, but keep an eye on the baking time as thinner bars may cook faster.
For more ideas, check out our red velvet cheesecake bars.
Serving and Pairing Tips for These Cookie Bars
- Serve with a scoop of vanilla ice cream for a refreshing contrast to the chewy texture of the bars.
- Pair these with a chilled glass of lemonade or iced tea to complement the sweetness of the dessert.
- Arrange on a platter alongside fruit skewers for a colorful and festive dessert spread.
- For a balanced 4th of July menu, serve these bars after a light main course like grilled chicken or vegetable skewers.
Storage and Reheating Tips
Once cooled completely, store the cookie bars in an airtight container at room temperature for up to three days. If you prefer to keep them longer, they can be refrigerated for up to a week or frozen for up to three months. To freeze, wrap individual bars in parchment paper and place them in a freezer-safe bag.
Looking for something similar? Try our red velvet dessert lasagna.
When reheating from frozen, allow the bars to thaw at room temperature for about 30 minutes. For a slightly warmed treat, microwave a bar for 10-15 seconds, making sure not to overheat and melt the candies.
No Flour Red White Blue Cookie Bars
Ingredients
- 1 cup almond butter
- 1/2 cup honey or maple syrup
- 1 large egg
- 1 tsp vanilla extract
- 1/2 tsp baking soda
- 1/4 tsp salt
- 1/2 cup white chocolate chips
- 1/2 cup red and blue chocolate candies (like M&Ms or similar)
Instructions
- Preheat your oven to 350°F (175°C) and line an 8x8 inch baking pan with parchment paper.
- In a mixing bowl, combine the almond butter, honey (or maple syrup), egg, and vanilla extract. Mix until smooth.
- Add the baking soda and salt to the mixture, stirring until fully incorporated.
- Fold in the white chocolate chips and half of the red and blue chocolate candies.
- Pour the mixture into the prepared baking pan, spreading it evenly.
- Sprinkle the remaining red and blue chocolate candies on top of the batter.
- Bake in the preheated oven for 20-25 minutes, or until the edges are golden and a toothpick inserted in the center comes out clean.
- Allow the cookie bars to cool in the pan for about 10 minutes before transferring them to a wire rack to cool completely.
- Cut into squares and serve.
Notes
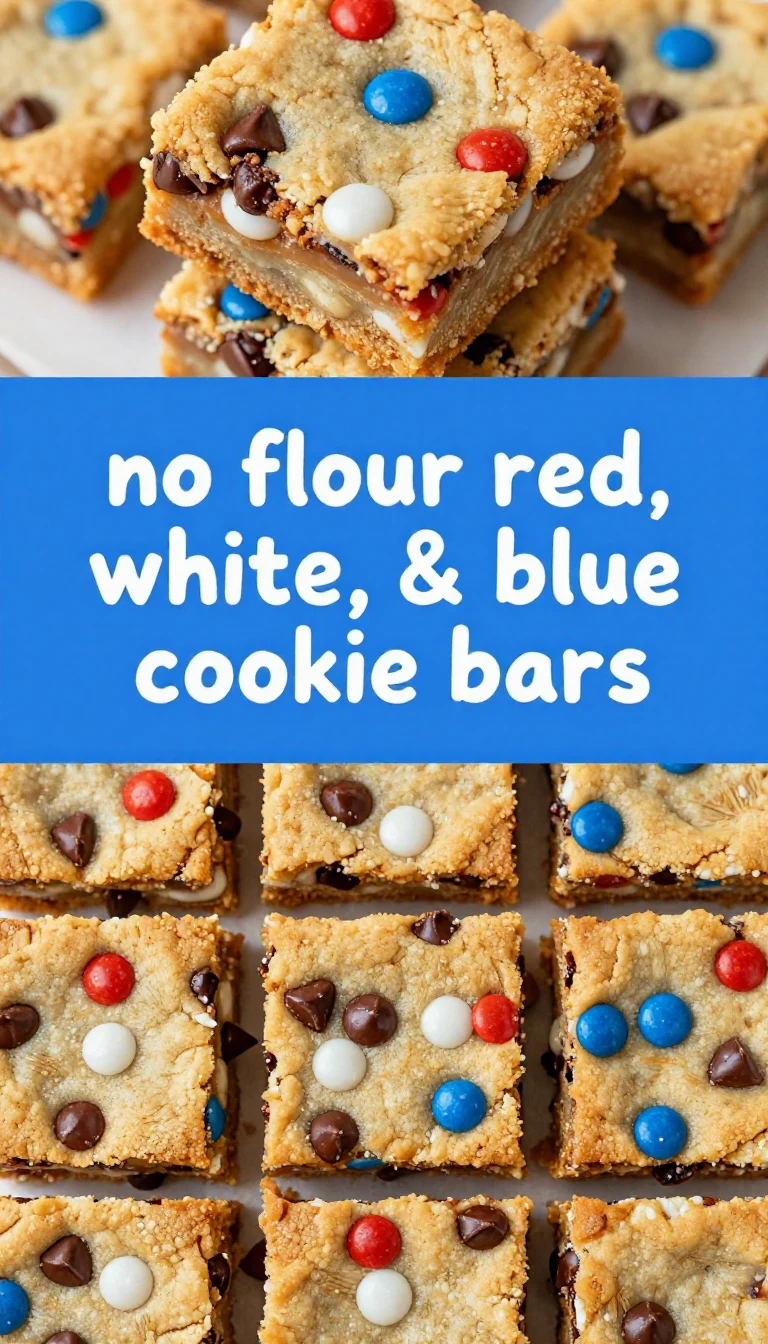
Loved this recipe? Save it to your favorite Pinterest board so you can easily find it later! ✨