Table of contents
Estimated reading time: 10 minutes
Introduction
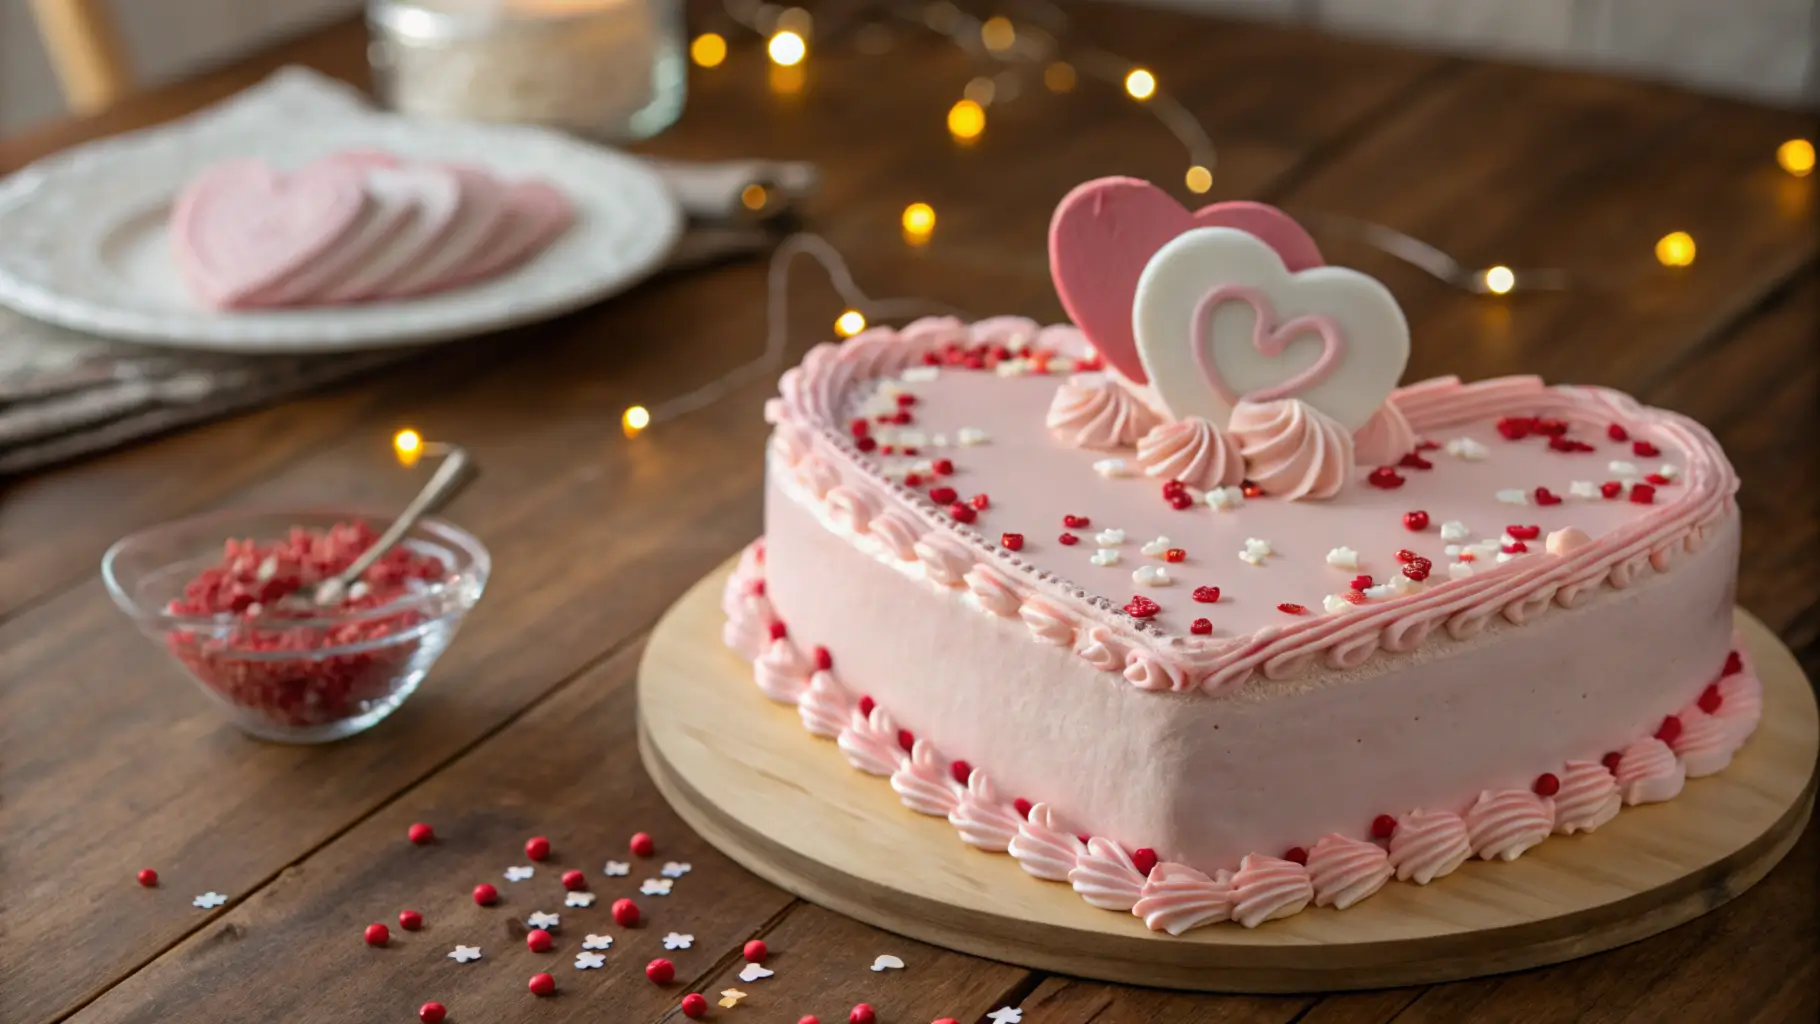
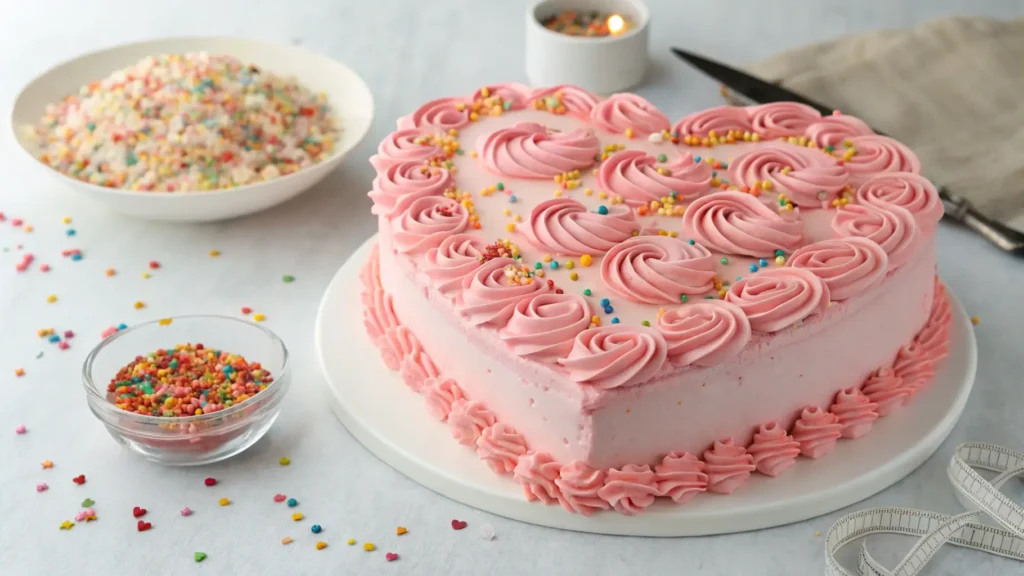
Naturally, when it comes to creating a dessert that’s as delightful to the eyes as it is to the taste buds, a heart-shaped cake steals the spotlight. Whether it’s for Valentine’s Day, a wedding, an anniversary, or even a birthday, a heart cake is a timeless way to show love and care. However, making one might seem challenging, especially if you’ve never worked with shaped cakes before. Fortunately, with the right steps and a bit of creativity, it’s an enjoyable process anyone can master!
In fact, this guide will walk you through every step of baking, decorating, and serving a heart cake that will make your celebrations unforgettable. From choosing the perfect ingredients to mastering the art of decoration, you’ll soon discover that creating a heart cake is simpler than you think. So, let’s dive in!
Ingredients for a Heart Cake
Essential Baking Ingredients
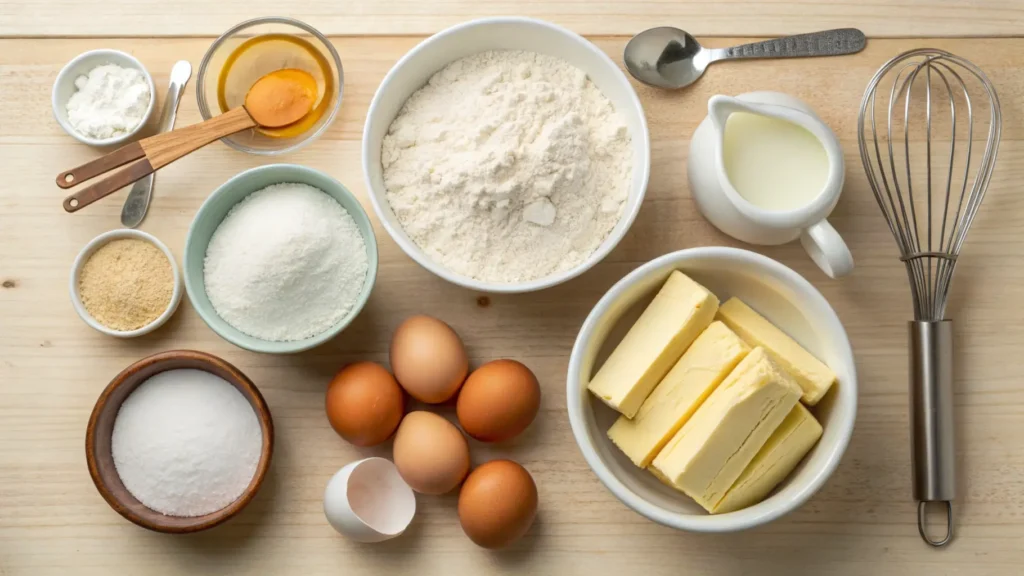
Before you start, you’ll need the following staples:
- Flour (all-purpose or cake flour for a lighter texture)
- Sugar (granulated or caster sugar)
- Eggs
- Butter or vegetable oil
- Milk or buttermilk
- Baking powder and/or baking soda
- Vanilla extract or flavoring of your choice
Recommended Tools for Shaping and Decorating
- A heart-shaped baking pan (or a round and square pan to create a DIY heart)
- Mixing bowls
- Whisk or electric mixer
- Offset spatula for frosting
- Piping bags and nozzles for decoration
- Cooling rack
Preparing the Batter
Choosing the Right Cake Flavor
Additionally, the beauty of a heart cake lies not only in its shape but also in its flavor. Popular choices include:
- Classic Vanilla: A universal favorite, perfect for all occasions.
- Chocolate Delight: Rich and indulgent, ideal for celebrations like Valentine’s Day.
- Red Velvet: A vibrant, romantic choice with a hint of cocoa.
- Lemon or Fruit-Flavored Cakes: For a light, refreshing twist.
When choosing a flavor, consider your audience’s preferences and the occasion. For weddings or anniversaries, elegant flavors like almond or white chocolate might be suitable.
Tips for a Smooth and Fluffy Batter
- Room Temperature Ingredients: Allow eggs, butter, and milk to reach room temperature for a smoother blend.
- Proper Mixing: Mix wet and dry ingredients separately before combining them. Avoid overmixing, which can make the cake dense.
- Sifting Dry Ingredients: Sifting flour, baking powder, and cocoa (if using) ensures a lump-free batter.
- Folding Technique: Gently fold in any additional ingredients like chocolate chips or fruit to maintain airiness.
Shaping Your Heart Cake
Baking with a Heart-Shaped Pan
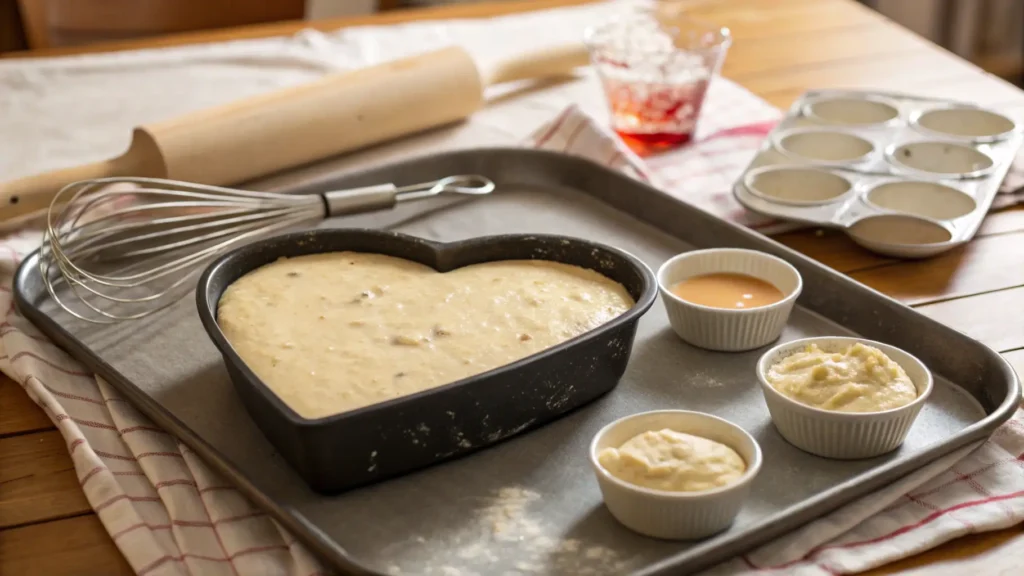
Using a heart-shaped pan is the simplest way to achieve the desired shape. Here’s how:
- Grease the pan thoroughly and line the base with parchment paper to prevent sticking.
- Fill the pan no more than two-thirds full to allow the cake to rise without overflowing.
- Tap the pan gently on the counter to remove air bubbles before baking.
Creating a Heart Shape Without a Special Pan
No heart-shaped pan? No problem! You can craft a heart using a round and square pan:
- Bake one round and one square cake of the same size.
- Cut the round cake in half.
- Place the square cake like a diamond and attach the two semi-circles on top to form a heart.
- Use frosting to bind the pieces together seamlessly.
Baking the Heart Cake
Optimal Oven Temperature and Time
Baking your heart cake to perfection requires careful attention to temperature and time:
- Preheat the Oven: Always preheat your oven to the specified temperature in your recipe. Generally, cakes bake best at 325°F to 350°F (160°C to 175°C).
- Baking Time: For most heart-shaped cakes, expect a baking time of 25-35 minutes. This varies depending on the size and thickness of the batter.
- Test for Doneness: Insert a toothpick or skewer into the center of the cake. If it comes out clean or with a few crumbs, the cake is ready.
Ensuring Even Baking
- Use the Middle Rack: Position your cake on the middle rack for even heat distribution.
- Rotate the Pan: If your oven has hot spots, rotate the pan halfway through baking to avoid uneven cooking.
- Avoid Overbaking: Remove the cake promptly when it’s done to prevent dryness.
Cooling and Prepping for Decoration
Proper Cooling Techniques to Avoid Cracking
Once baked, your cake needs time to cool before decorating. Follow these steps:
- Let the cake cool in the pan for 10-15 minutes.
- Gently run a knife along the edges and invert the pan onto a cooling rack.
- Allow the cake to cool completely at room temperature, typically for 1-2 hours.
Leveling and Trimming for a Smooth Surface
For professional-looking results, leveling is key:
- Use a serrated knife to trim the dome-shaped top if your cake isn’t flat.
- Flip the cake upside down, as the bottom side is naturally smoother and easier to frost.
- Brush off loose crumbs or seal them with a light layer of frosting, known as a crumb coat.
Decorating Your Heart Cake
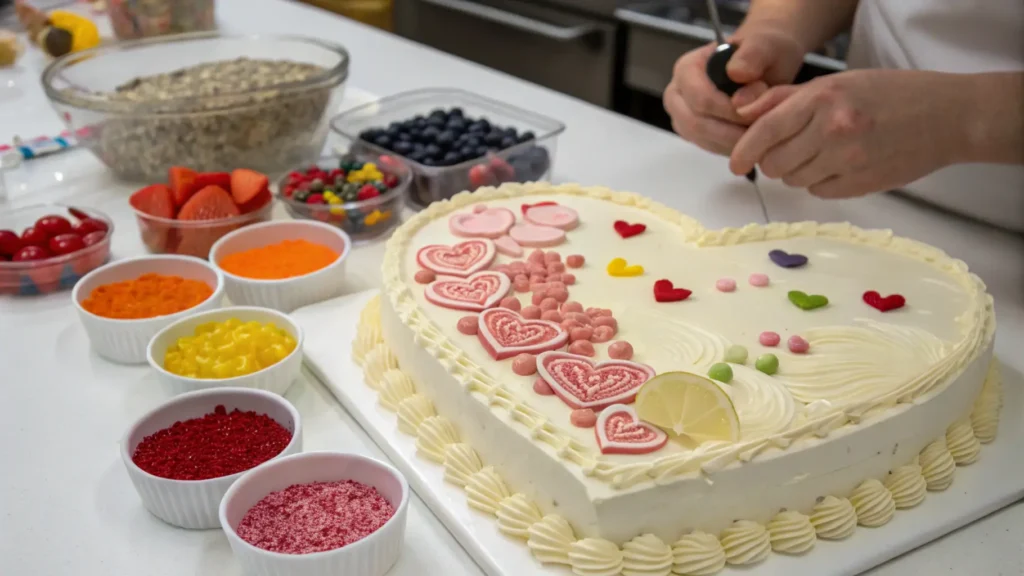
Buttercream vs. Fondant: Which to Choose?
Your choice of decoration depends on the desired look and skill level:
- Buttercream: Soft, creamy, and versatile for spreading or piping intricate designs. Great for beginners.
- Fondant: Offers a polished, smooth finish but requires more skill and patience to apply.
Creative Heart-Themed Decorations
- Piping Designs: Use red, pink, or white buttercream to pipe hearts, swirls, or lace patterns.
For more inspiration on celebratory cake designs, explore our “guide to graduation cakes“.
- Edible Embellishments: Add sprinkles, edible glitter, or heart-shaped candies for extra flair.
- Drip Technique: Create a chocolate or colored glaze drip along the edges for a modern look.
Tips for Beginners on Frosting and Piping
- Chill the cake for 30 minutes before frosting to prevent crumbs from mixing with the frosting.
- Practice piping on parchment paper before working directly on the cake.
- Use contrasting colors to make designs pop.
Unique Heart Cake Ideas
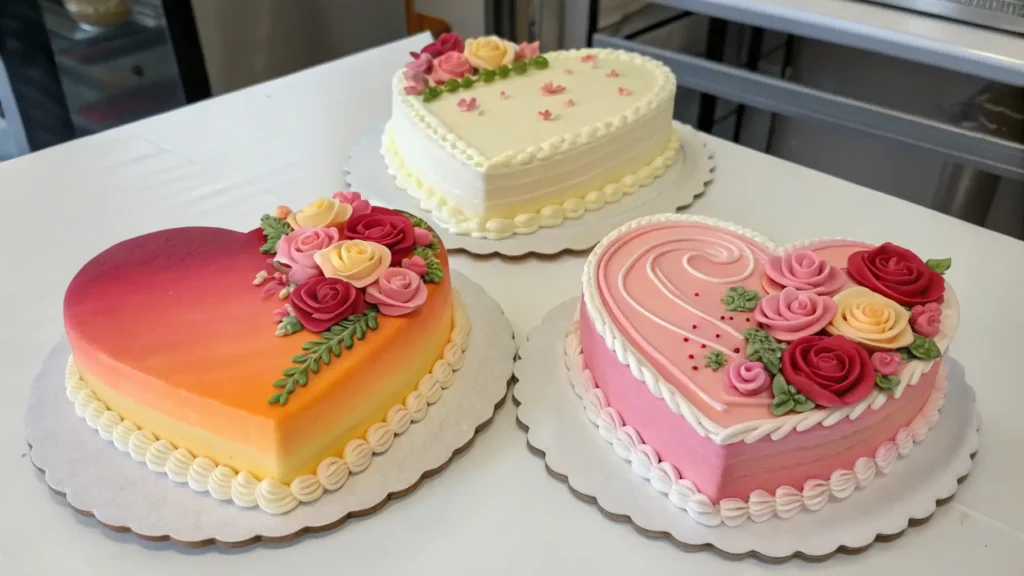
Layered Heart Cakes
Adding layers to your heart cake not only enhances its visual appeal but also offers opportunities for flavor combinations:
- Slice the cake horizontally into two or three layers using a serrated knife.
- Add fillings like whipped cream, fruit preserves, chocolate ganache, or flavored buttercream between the layers.
- Align each layer carefully to maintain the heart shape, then frost the entire cake for a seamless look.
Ombre Frosting Effect
Create a stunning gradient effect with ombre frosting:
- Prepare buttercream in varying shades of the same color (e.g., light pink to deep red).
- Starting at the bottom, apply the darkest shade and work your way up with lighter shades.
- Smooth the colors together with an offset spatula for a blended appearance, or leave them distinct for a striped effect.
Floral Designs and Edible Embellishments
For a romantic touch, adorn your cake with edible flowers like pansies, violets, or rose petals. Alternatively:
- Use piping techniques to create buttercream roses, petals, or leaves.
- Decorate the surface with fondant cutouts in floral shapes.
- Add edible pearls or glitter for a luxurious finish.
Heart Cake for Special Occasions
Valentine’s Day
Nothing says “I love you” like a heart-shaped cake:
- Opt for bold, romantic colors like red, pink, or chocolate brown.
- Decorate with heartfelt messages written in icing, such as “Be Mine” or “I Love You.”
Weddings and Anniversaries
For formal events, consider elegant designs:
- Use white or pastel-colored frosting for a timeless look.
- Incorporate intricate lace patterns, monograms, or fondant bows.
- Pair the cake with matching cupcakes for a tiered presentation.
Birthdays and Other Celebrations
Heart cakes are versatile enough for any celebration:
- For kids, use bright colors and fun themes like rainbows or cartoons.
- For adults, add a personalized touch with their favorite flavors and decorative elements.
Storing Your Heart Cake
How to Keep Your Cake Fresh
Proper storage is crucial to maintaining the cake’s taste and texture:
- Short-Term: Cover the cake with a dome or plastic wrap and store it at room temperature for up to two days.
- Refrigeration: If using perishable fillings like whipped cream, refrigerate the cake. Bring it to room temperature before serving.
Freezing Tips for Leftovers
If you have leftover cake:
- Wrap individual slices in plastic wrap, then foil, to prevent freezer burn.
- Store in an airtight container or freezer bag for up to three months.
- Thaw in the refrigerator overnight or at room temperature for a few hours.
Troubleshooting Common Issues
Uneven Baking
If your cake doesn’t bake evenly, try these tips:
- Check Oven Temperature: Use an oven thermometer to ensure accuracy.
- Proper Batter Distribution: Spread the batter evenly in the pan before baking.
- Bake at Lower Temperatures: Reduce the oven temperature slightly and increase the baking time to allow the cake to cook more uniformly.
Cracks in the Cake
Cracks can happen if the batter rises too quickly:
- Avoid Overbeating: Overmixing the batter can introduce excess air, leading to cracks.
- Instead, don’t Overfill the Pan: Leave space for the batter to expand while baking.
- Use a Water Bath: For delicate batters, placing the pan in a water bath can help regulate heat and prevent cracking.
Frosting Mishaps
If frosting isn’t going as planned:
- Crumb Issues: To begin with, apply a thin crumb coat before the final layer of frosting so that crumbs are sealed and don’t interfere with the decoration.
- Runny Frosting: If your frosting is too soft, chill it for 15-20 minutes to ensure it thickens properly before application.
- Uneven Coverage: In order to achieve a smooth, polished finish, use an offset spatula or a bench scraper as you spread the frosting evenly across the cake.
Heart Cake FAQs
You can create a heart-shaped cake in two ways:
Using a Heart-Shaped Pan: Simply pour the batter into the pan, bake, and decorate.
Without a Heart-Shaped Pan: Bake one round cake and one square cake. Cut the round cake in half and place each half against two adjoining sides of the square cake to form a heart. Use frosting to join the pieces seamlessly.
The number of layers depends on your preference and the occasion:
Single Layer: Great for a simple and casual cake.
Two Layers: Ideal for adding fillings like frosting, fruit, or jam for extra flavor and height.
Three or More Layers: Perfect for creating a show-stopping cake for celebrations like weddings or anniversaries.
Yes, Dairy Queen offers customizable ice cream cakes, including heart-shaped designs. Check with your local Dairy Queen for availability and customization options for flavors and decorations.
A 6-inch heart cake typically serves 6-8 people, depending on how generously it is sliced. It’s a perfect size for small gatherings or intimate celebrations.
Conclusion
Making a heart-shaped cake isn’t just about creating a delicious dessert—it’s about crafting a symbol of love and care for your special occasion. From selecting the right ingredients to troubleshooting common baking mishaps, you now have all the tools and tips to bake a heart cake that’s as stunning as it is scrumptious.
Remember, the key is to enjoy the process and infuse your unique style into the decoration. Ultimately, roll up your sleeves, gather your ingredients, and get ready to bake a cake that will warm hearts and bring smiles!

