
This post contains affiliate links. As an Amazon Associate, I earn from qualifying purchases. This comes at no extra cost to you.
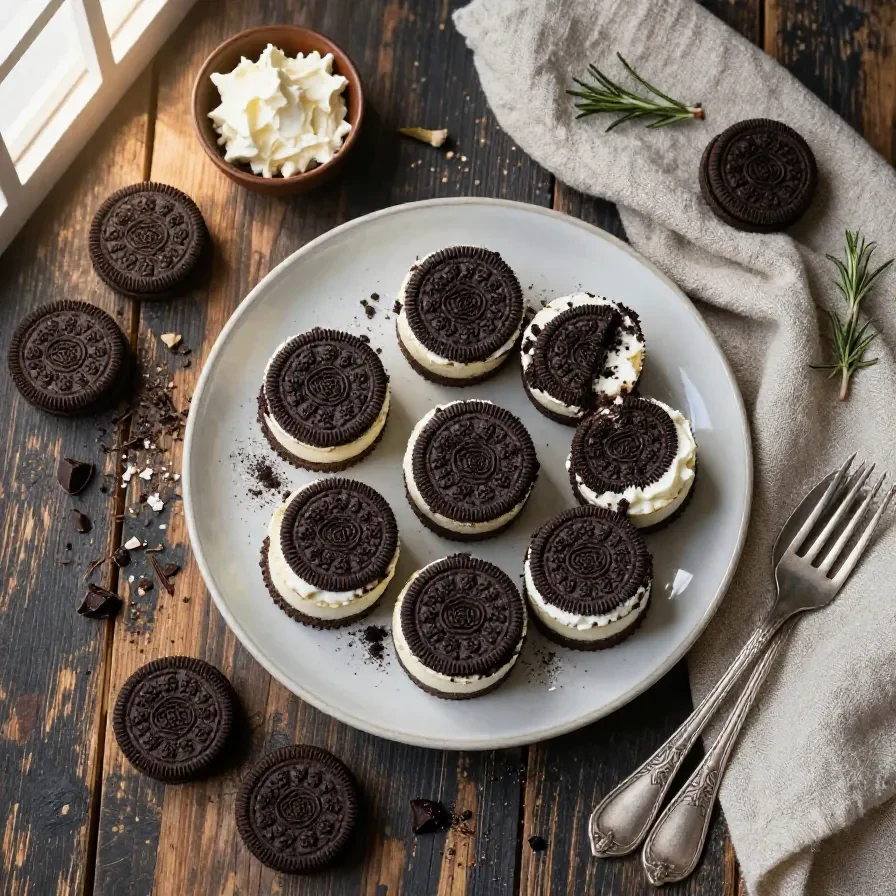
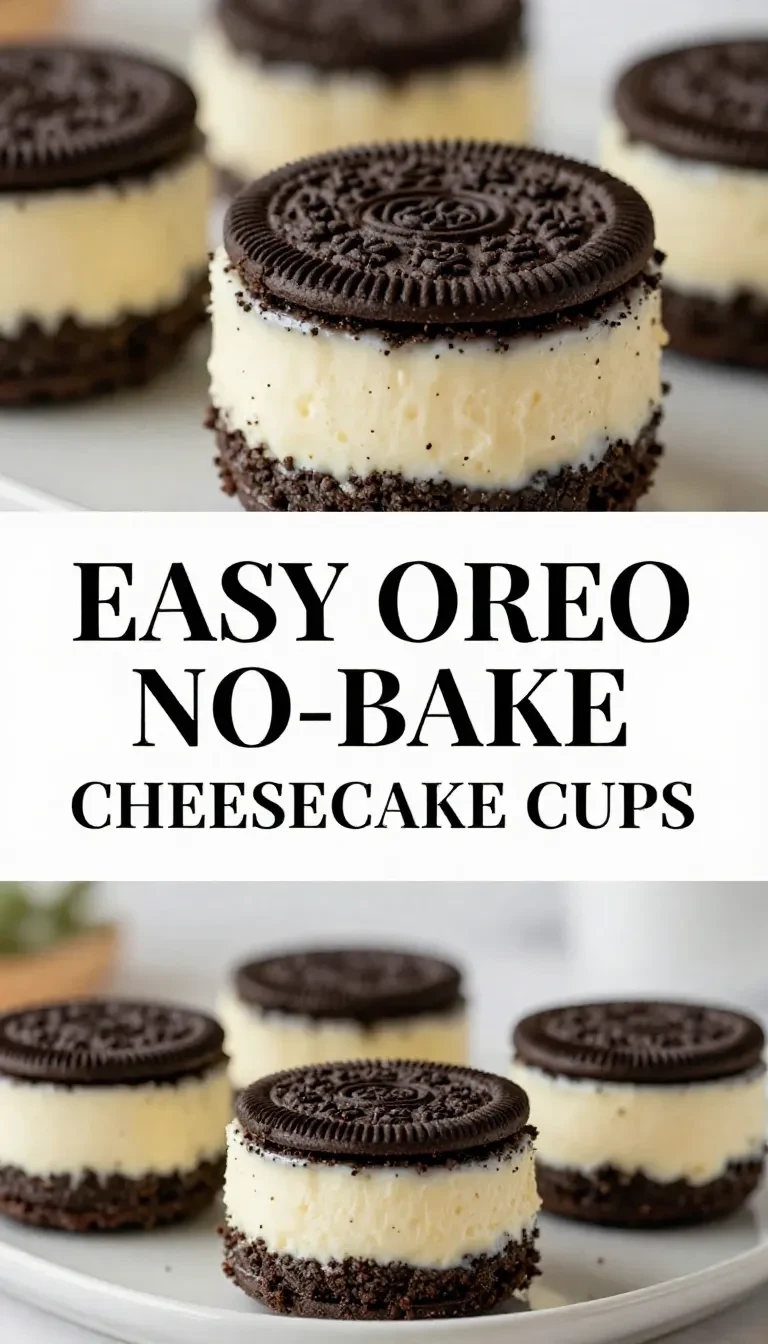
Oreo No-Bake Cheesecake Cups are the ultimate treat featuring creamy layers of sweet cheesecake filling and the irresistible crunch of Oreo cookie crumbs. This quick cold dessert requires no baking, making it perfect for busy days or impromptu celebrations. Serve chilled, and enjoy the indulgent combination of rich creaminess and chocolatey goodness.
Table of Contents
- Why This Recipe Works
- Everything You Need for Oreo No-Bake Cheesecake Cups
- How To Make Oreo No-Bake Cheesecake Cups Step by Step
- Common Mistakes to Avoid
- Storing and Serving Tips
- Frequently Asked Questions
- Expert Tips for Perfect Oreo No-Bake Cheesecake Cups
Why This Recipe Works
- Save time without compromising on flavor: Oreo No-Bake Cheesecake Cups are ready in 15 minutes with no oven required. Perfect for last-minute dessert needs, they fit seamlessly into busy schedules.
- Ideal for any occasion: These simple snack ideas work beautifully for casual family meals, fancy dinner parties, or even as anniversary treats. Their layered presentation makes them versatile for formal or laid-back setups.
- Kid-friendly and easy to make: Packed with Quick Oreo Desserts appeal, this recipe is great for little helpers in the kitchen since it’s foolproof and mess-free. Perfect for those looking for no bake ideas for kids.
- Perfectly portable: The individual serving cups make it easy to transport and serve at events. Guests can grab and go without the hassle of slicing or plating.
Everything You Need for Oreo No-Bake Cheesecake Cups
- 12 Oreo cookies (crushed, divided)
- 8 ounces cream cheese (softened)
- 1/2 cup powdered sugar
- 1 teaspoon vanilla extract
- 1 cup heavy whipping cream
- 2 tablespoons granulated sugar
- Extra crushed Oreos for garnish (optional)
Softened cream cheese is key to achieving a smooth and creamy texture for the cheesecake filling. The crushed Oreos add a delightful crunch and the signature chocolate flavor that makes this dessert stand out.
How To Make Oreo No-Bake Cheesecake Cups Step by Step
- Place 8 of the Oreo cookies in a food processor and crush them into fine crumbs. Reserve the remaining 4 Oreo cookies to crush into larger chunks for topping or layering.
- Divide half of the finely crushed Oreo crumbs evenly into the bottoms of serving cups or glasses to create the base layer. Press lightly with the back of a spoon to compact the crumbs.
- In a large mixing bowl, beat the softened cream cheese with powdered sugar and vanilla extract until smooth and creamy. Ensure there are no lumps for a silky filling.
- In a separate bowl, whip the heavy whipping cream with granulated sugar until stiff peaks form. Be careful not to overmix, as the cream might turn into butter.
- Gently fold the whipped cream into the cream cheese mixture until fully combined and fluffy. Avoid overmixing to preserve the light texture.
- Spoon or pipe the cheesecake filling over the Oreo crumb base in each cup, filling the cups about halfway. Smooth the tops for an even layer.
- Layer the remaining finely crushed Oreo crumbs or larger Oreo chunks over the cheesecake filling as desired. This adds texture and layered flavors.
- Top with another layer of cheesecake filling until the cups are full. Adjust the filling to ensure every cup has equal portions.
- Garnish with extra crushed Oreos or Oreo halves, if desired. This step adds a decorative and flavorful finish.
- Refrigerate the cups for at least 2 hours to set before serving. Chilling enhances the flavor and ensures the perfect consistency.

Ideal for crushing Oreos into fine crumbs quickly and efficiently.
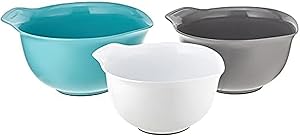
Durable and versatile bowls for mixing cream cheese and whipped cream effortlessly.
Common Mistakes to Avoid
- Don’t skip the chilling step: Serving the Oreo No-Bake Cheesecake Cups too soon may result in a runny texture. Ensure they set for at least two hours in the fridge.
- Watch your whipped cream: Overmixing can lead to a broken and grainy texture instead of a smooth and fluffy filling. Whip only until stiff peaks form.
- Use softened cream cheese: Attempting to mix cold cream cheese can result in lumps, affecting the overall texture of the dessert.
Storing and Serving Tips
Store Oreo No-Bake Cheesecake Cups in the refrigerator, tightly covered, for up to 3 days. This keeps the layers fresh and maintains the creaminess of the filling.
For longer storage, you can freeze the cups for up to 2 weeks. Thaw them in the fridge overnight before serving, and garnish with fresh crushed Oreos if needed to restore texture.
You might also enjoy our easy 3 ingredient no bake.
Serve chilled for the best experience. Pair this dessert with coffee, tea, or even sparkling wine at dinner parties for a delightful finish to the meal.
Looking for something similar? Try our blueberry breakfast bake (5 ingredients!).
For more ideas, check out our easy 3 ingredient no bake.
Frequently Asked Questions
- Can I use store-bought whipped cream? Yes, you can substitute homemade whipped cream with pre-made whipped cream to save time. Adjust sugar quantities if needed, as store-bought versions may be sweeter.
- Can I make these in advance? Absolutely! Prepare and refrigerate these cups up to 24 hours before your event for a stress-free dessert option.
- What type of cups work best? Clear glass or plastic cups showcase the layers beautifully, but any serving container will work based on your preference.
Expert Tips for Perfect Oreo No-Bake Cheesecake Cups
- Crush the Oreos finely for the base layer to create a firm and even foundation. This ensures the layers stay neat and visually appealing.
- Chill your mixing bowl and whisk before whipping the heavy cream. This speeds up the process and helps achieve stiff peaks more quickly.
- Use a piping bag for the cheesecake filling for cleaner and more precise layers. This is especially helpful for formal events where presentation matters.
- Add a touch of lemon juice to the cream cheese mixture for a tangy twist. The slight acidity complements the sweetness of the dish.
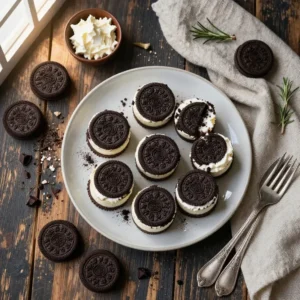
Oreo No-Bake Cheesecake Cups
Ingredients
- 12 Oreo cookies crushed, divided
- 8 ounces cream cheese softened
- 1/2 cup powdered sugar
- 1 teaspoon vanilla extract
- 1 cup heavy whipping cream
- 2 tablespoons granulated sugar
- extra crushed Oreos for garnish, optional
Instructions
- Place 8 of the Oreo cookies in a food processor and crush them into fine crumbs. Reserve 4 Oreo cookies to crush into larger chunks for topping or layering.
- Divide half of the finely crushed Oreo crumbs evenly into the bottoms of serving cups or glasses to create the base layer.
- In a large mixing bowl, beat the softened cream cheese with powdered sugar and vanilla extract until smooth and creamy.
- In a separate bowl, whip the heavy whipping cream with granulated sugar until stiff peaks form.
- Gently fold the whipped cream into the cream cheese mixture until fully combined and fluffy.
- Spoon or pipe the cheesecake filling over the Oreo crumb base in each cup, filling the cups about halfway.
- Layer the remaining finely crushed Oreo crumbs or larger Oreo chunks over the cheesecake filling as desired.
- Top with another layer of cheesecake filling until the cups are full.
- Garnish with extra crushed Oreos or Oreo halves, if desired.
- Refrigerate the cups for at least 2 hours to set before serving.
Notes
Loved this recipe? Save it to your favorite Pinterest board so you can easily find it later! ✨